
Update December 17, 2015: Added an explanation of how to encrypt Chrome Sync data so that students can take advantage of Chrome Sync without sharing their browsing history and other personal information with Google, and pointed out that enabling autofill and password saving is OK if Chrome Sync is disabled or encrypted.
If your child's school issued them a Chromebook, there are some important settings you can chance to improve their privacy.
Be sure to also check out our Guide to Google Account Privacy Settings for Students.
Open the Chromebook’s settings by clicking on your username in the bottom right-hand corner, then clicking “Settings.”
Scroll all the way to the bottom, and click "Show advanced Settings..."
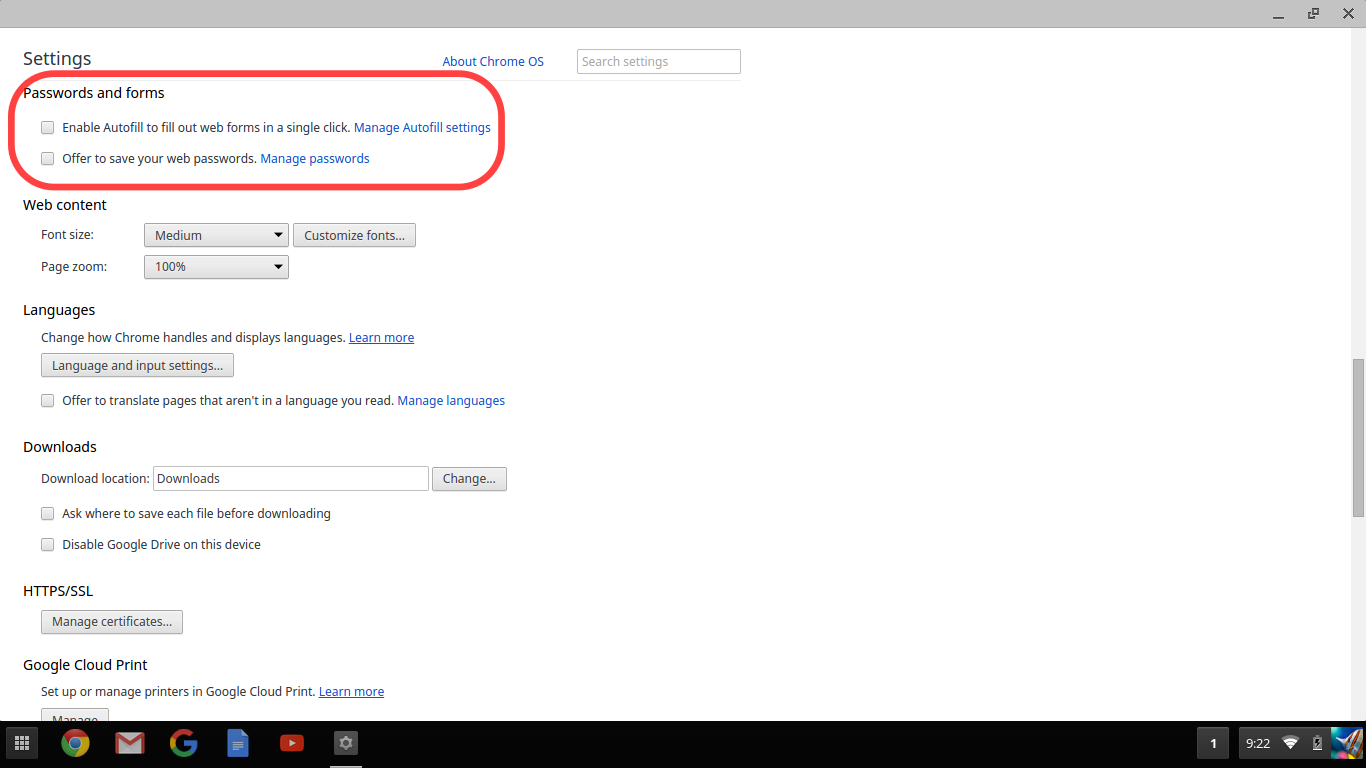
Under "Passwords and forms"
- Un-check "Enable Autofill to fill out web forms in a single click."
- Un-check "Offer to save your web passwords."
Under “People”
Click the “Advanced sync settings…” button. Then from the dropdown menu, select “Choose what to sync” and then un-check all the boxes below. Then click “OK”.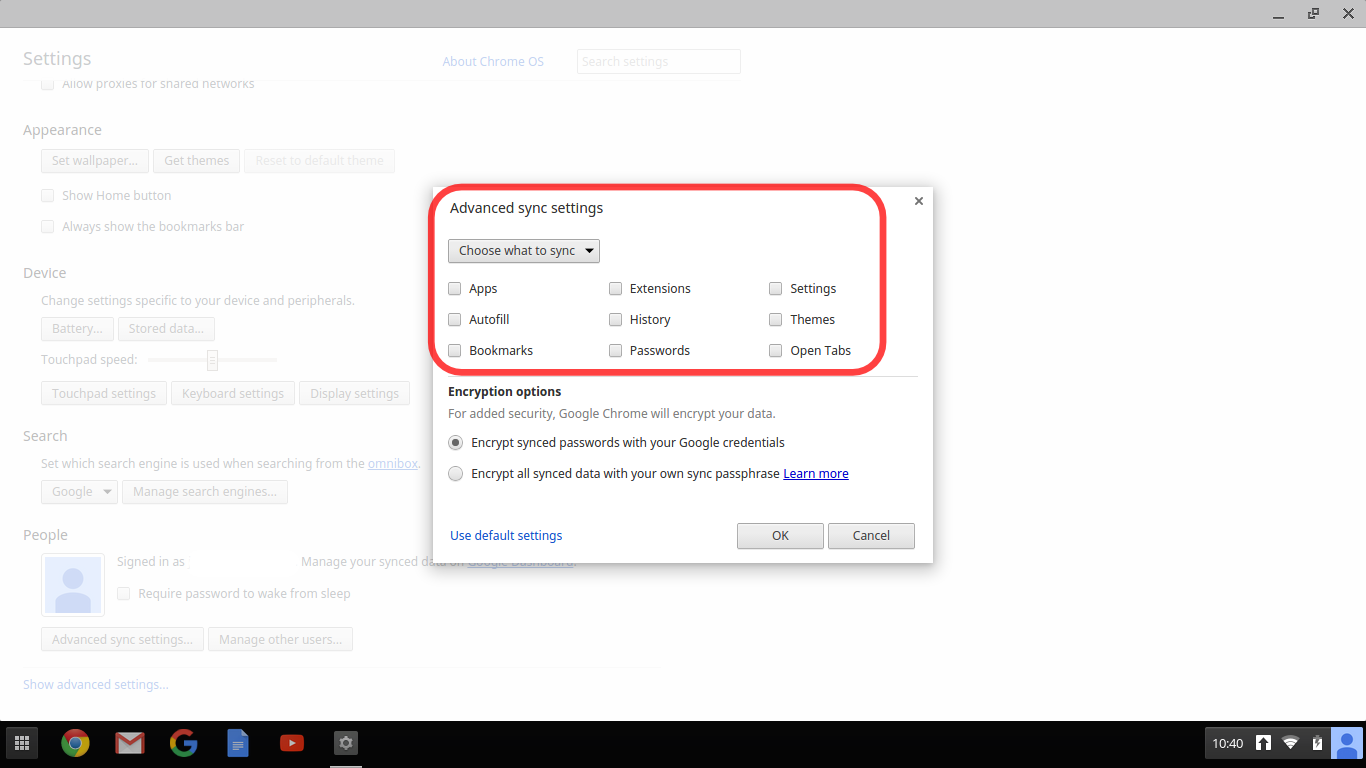
Alternatively, you can take advantage of the benefits of Chrome Sync without giving Google access to your settings, browsing history, etc., by encrypting all of the synced data using your own passphrase. If you do so, the data will be encrypted locally on the Chromebook using this passphrase before being uploaded to Google's servers. You will also have to enter this passphrase every time you log in to a new Chromebook (or Chrome browser) for the first time. To enable encrypted syncing, check "Encrypt all synced data with your own sync passphrase" and then enter and re-enter a passphrase in the boxes below, and then click "OK". (Make sure not to use the same passphrase as for your Google account. If you need advice on choosing a different, unique passphrase, check out this guide on how to create and remember strong passphrases.).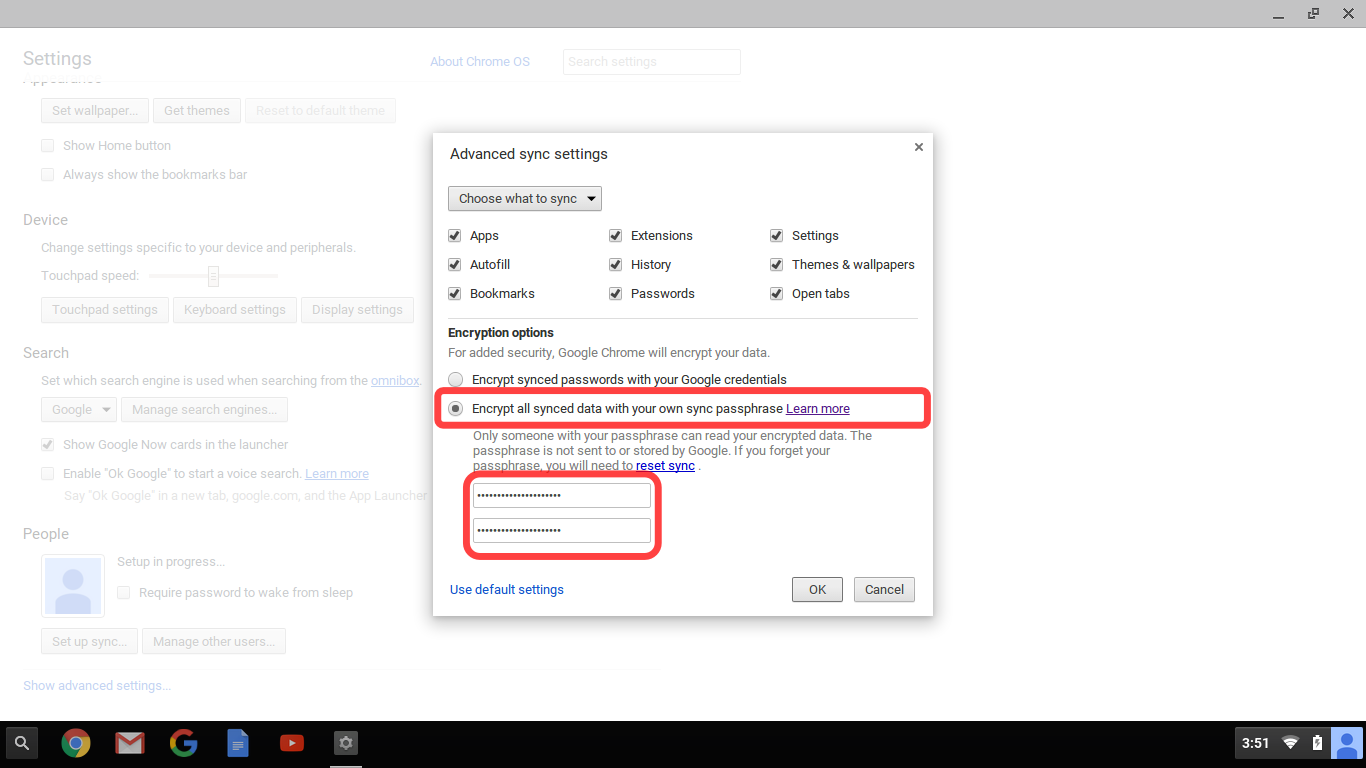
Under "Privacy"
- Un-check "Use a web service to help resolve navigation errors"
- Un-check "Use a prediction service to help complete searches and URLs typed in the address bar or the app launcher search box"
- Un-check "Prefetch resources to load pages more quickly"
- Un-check "Automatically report details of possible security incidents to Google"
- Check "Protect you and your device from dangerous sites"
- Un-check "Use a web service to help resolve spelling errors"
- Un-check "Automatically send usage statistics and crash reports to Google"
- Check "Send a 'Do Not Track' request with your browsing traffic"
- Un-check “Enable ‘Ok Google’ to start a voice search”
Next, under “Privacy”, click the "Content settings..." button.
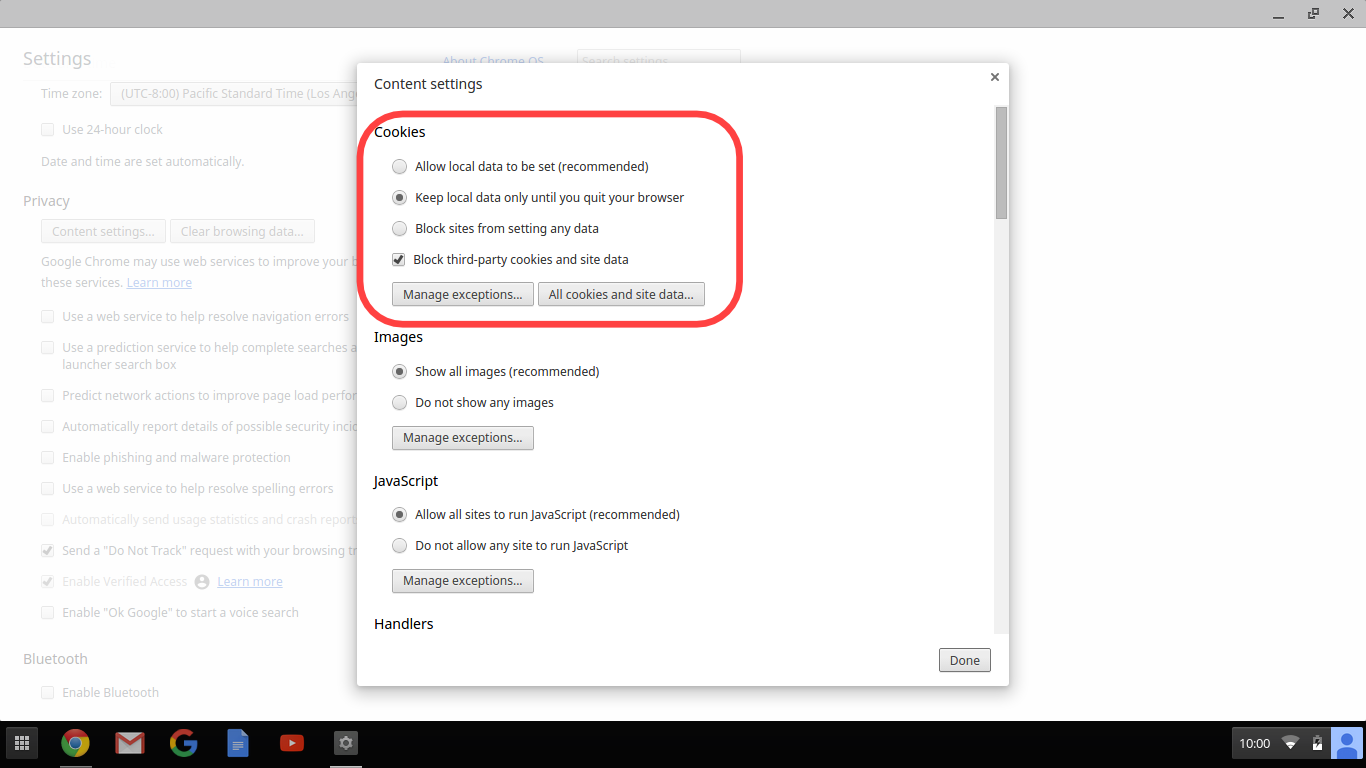
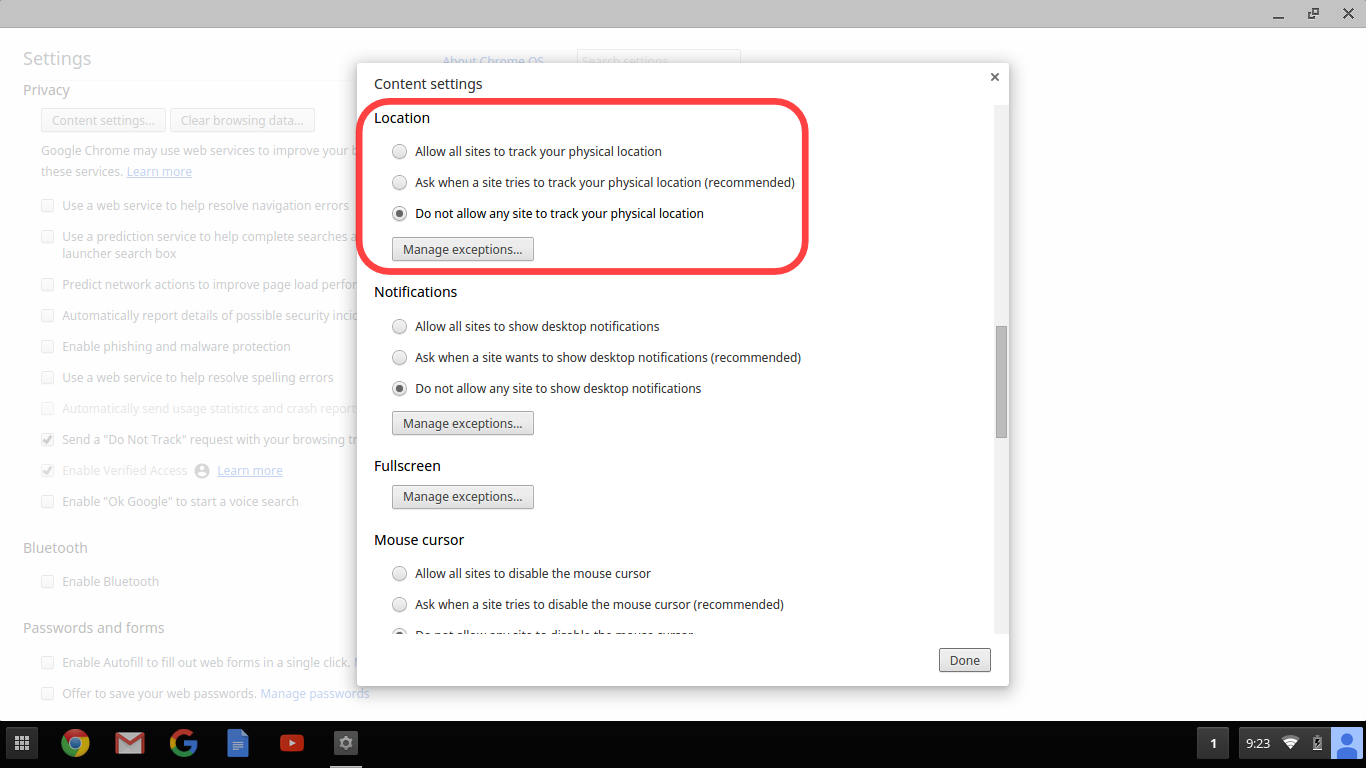
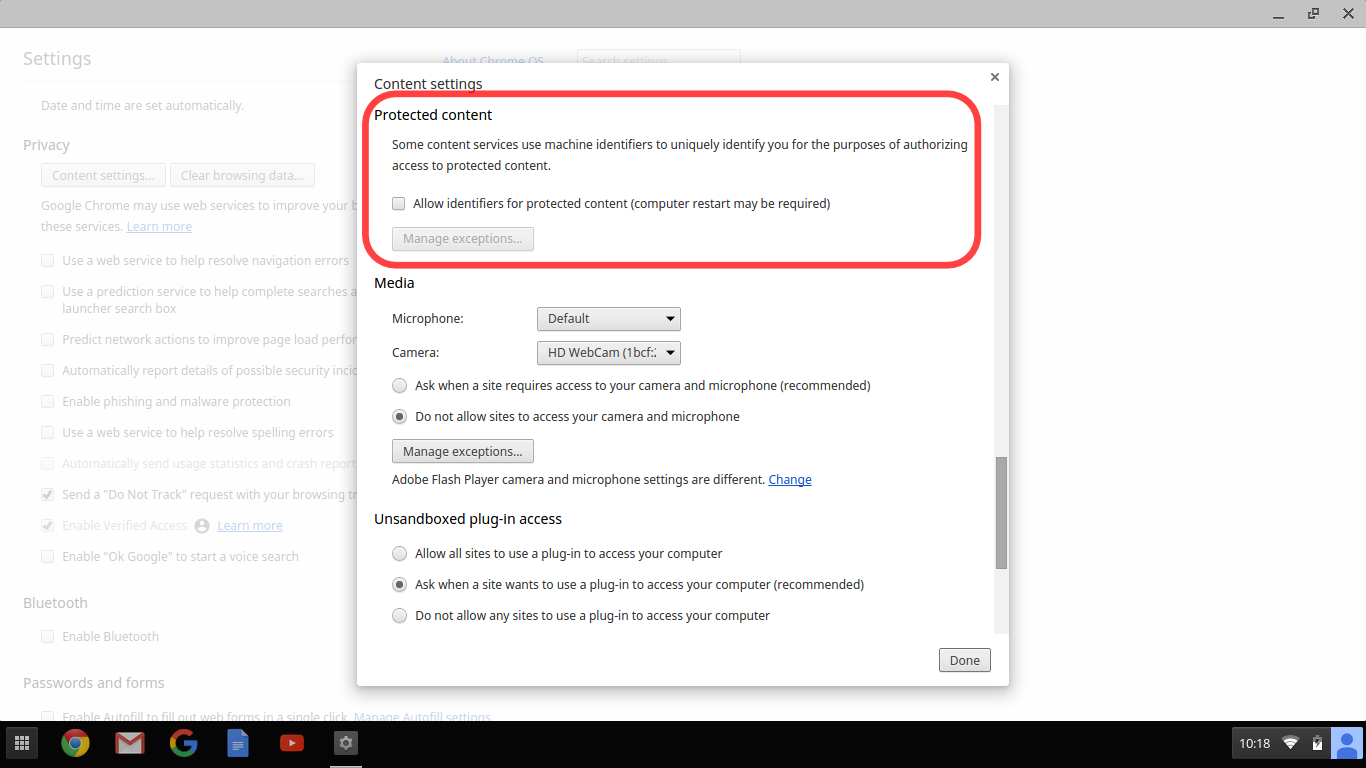
In "Content settings"
- Under “Cookies”, select "Keep local data only until you quit your browser" and "Block third-party cookies and site data"
- Under “Location” select "Do not allow any site to track your physical location"
- Under “Protected content” un-select "Allow identifiers for protected content (computer restart may be required)”
Once you have finished, click “Done” in the bottom right, and you can then close the Settings window.
Privacy-Preserving Extensions
Finally, if your school allows it, we highly recommend installing Privacy Badger (which will help block non-consensual third-party tracking) and HTTPS Everywhere (which will help encrypt your child's web browsing) in your child's Chromebook.
And don't forget to also check out our Guide to Google Account Privacy Settings for Students.